 |
|
 |
|
 |
|
 |
|
 |
|
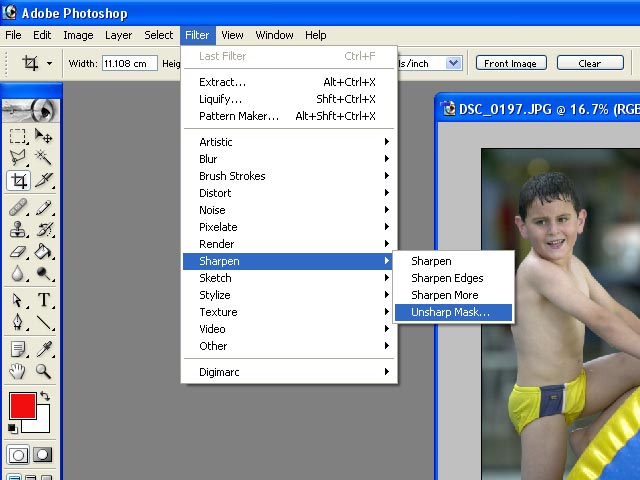
Step
7: The larger the image the more
AMOUNT %
will be necessary. Don't over sharpen! 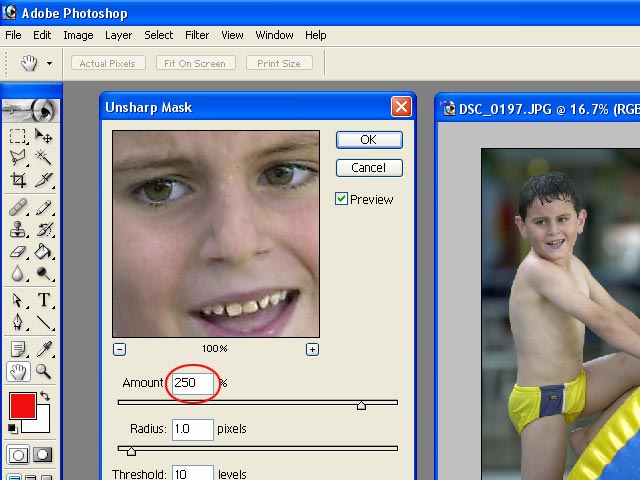 |
|
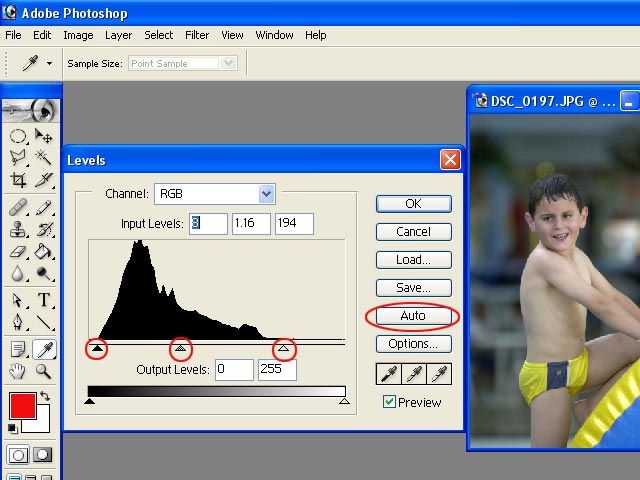
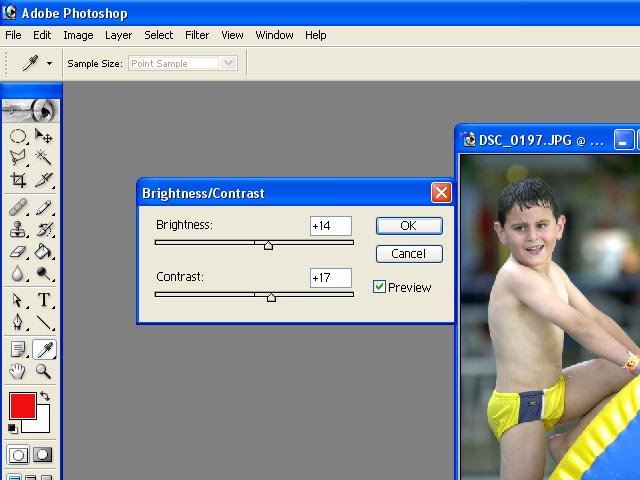
Step 8: We now adjust brightness and contrast. 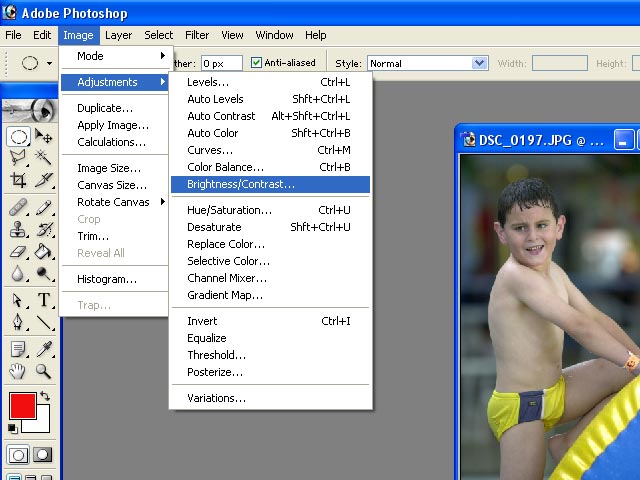 |
|
 |

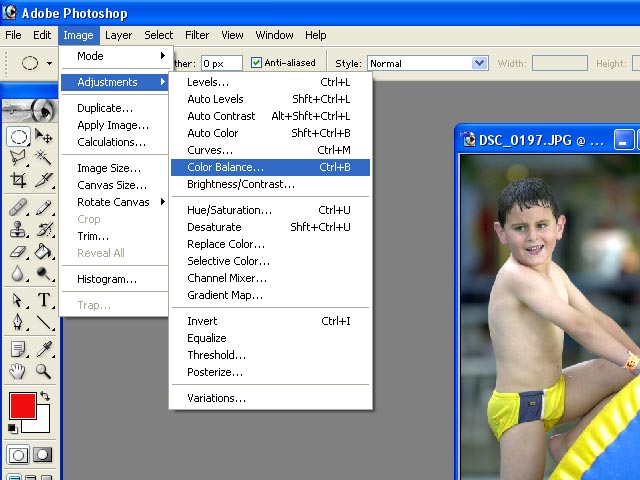 |
Step 11: In this particular case we removed some red from the
overall image. 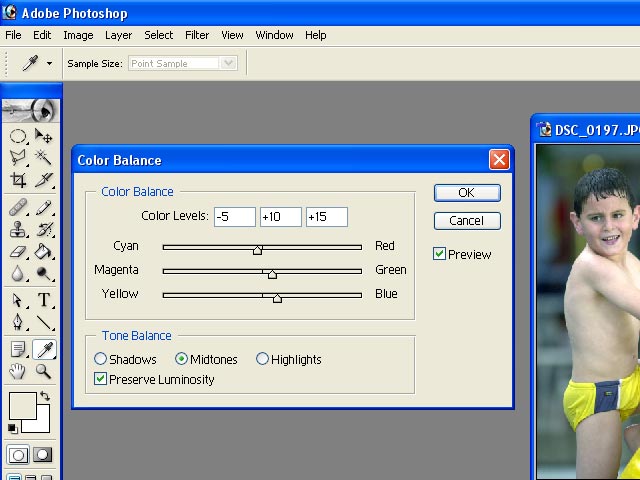 |
|
Step
12: Time to darken the background. 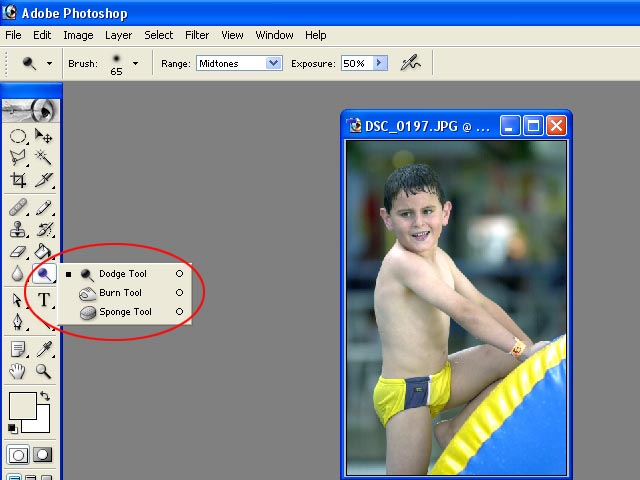 |
|
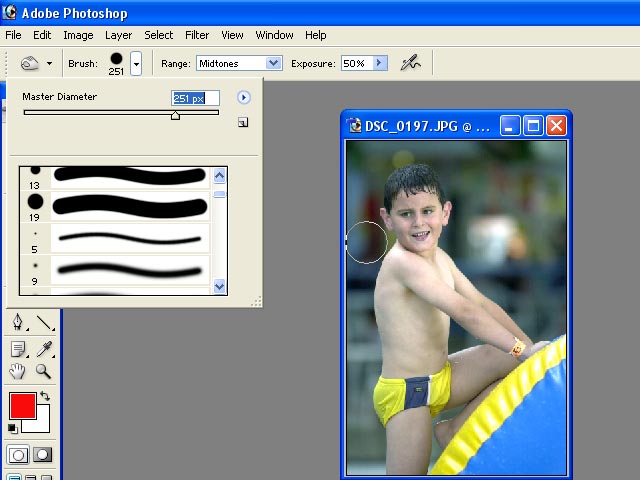 |
Step 14:
Notice the white patch of light to the right of the child. This spot will
draw the attention away from the main subject, in this case the boy. We
will clone (copy) a section of the background and place it over the white
patch. Click on the cloning tool and while holding down the
ALT key click with your mouse on a spot in
the background. Now go over the white spot with your mouse.  |
The final print:
You can now download to a CD and send
off to be printed.  |

|
Compare the final print to the one that came
out of the camera. 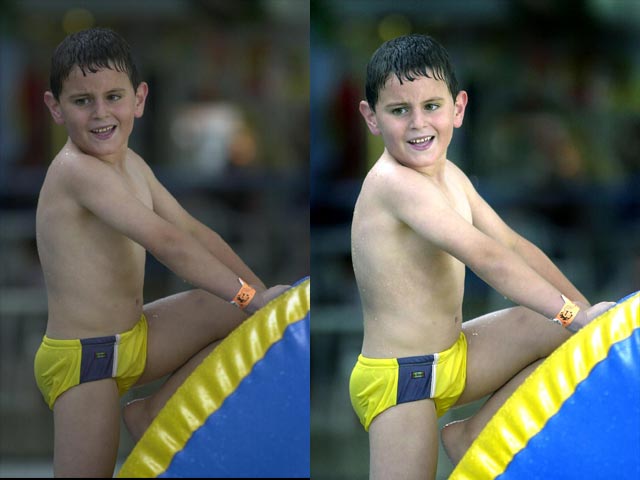 |

|

|