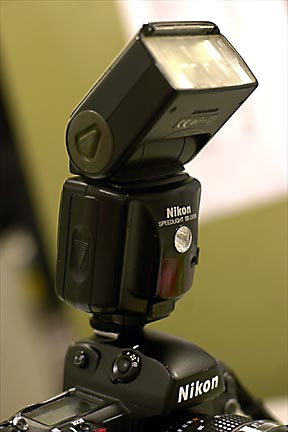
The Flash
 |  |
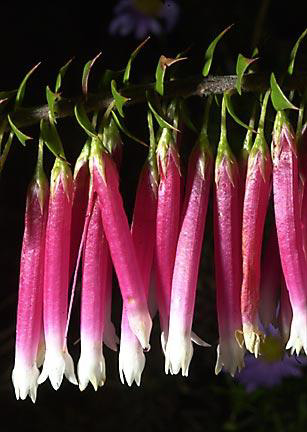
This is how the image
appears using daylight only!
|
 |  |
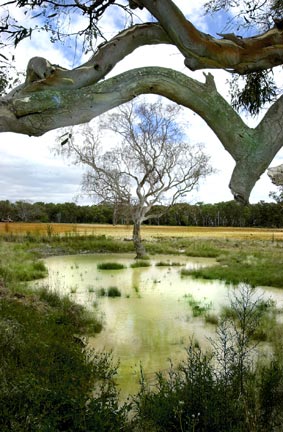 | We quite often talk about the need to fill-in light, into shadow areas when shooting outdoors. However, the subject matter is generally directed at people. In the photograph on the left, the overhanging branches in the foreground, were in deep shadow. The problem here as with people, was to throw some light onto these shadowy areas, without it appearing to be artificial. The basic rule of thumb for outdoor fill-in is: The flash must give off 2 stops less light than the f stop portion of our exposure. Lets look at this in more detail. The basic exposure for this scene, was 200th sec @ f11 using 200 ASA on digital. To achieve maximum depth of field, with my 17-35mm lens, I changed the exposure mixture to a 50th sec @ f22. The flash was then set at f11. As the camera exposure was set at f22, the flash is under exposed by two stops. With the modern flash unit, it's a question of now setting the appropriate exposure setting. When using a manual flash, the dial or instruction manual will give us the correct distance from the subject to achieve the desired f stop. |
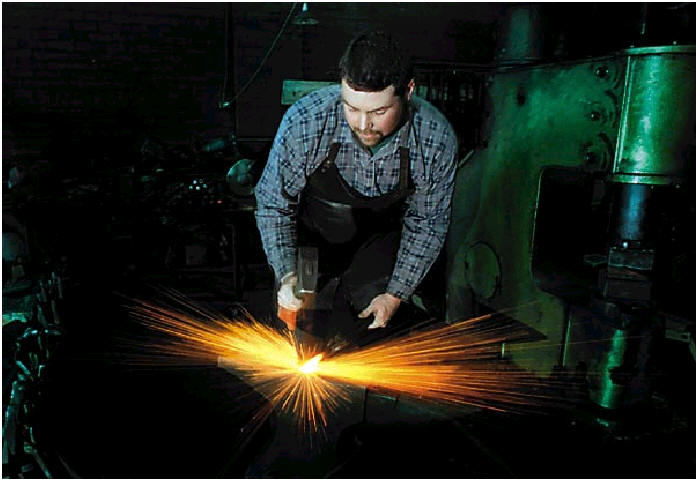 | A 50mm lens.8th sec @ F8. I took the shot when I heard the hammer hit the anvil. The blacksmith was lit by a flash to the left, out of frame. Although it appears as if the blacksmith is lit by the sparks, the reality is that on its own, the sparks could not produce enough light. |
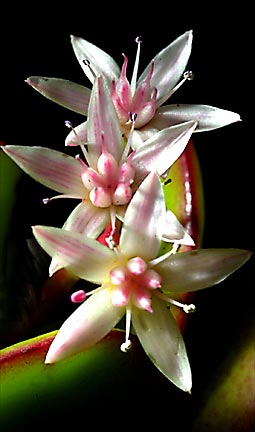
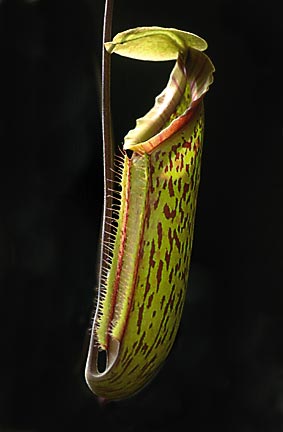
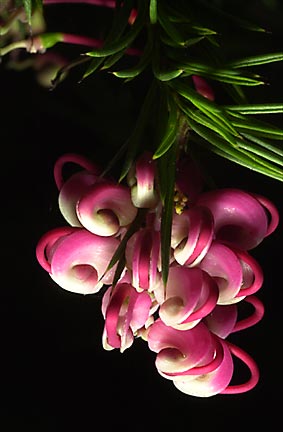
The following images were photographed using a single off the camera flash. By setting the shutter speed at 500th sec. daylight did not figure in the final exposure. As the flash unit was extremely close to these flowers, it was set at it's lowest setting and the aperture was around F32 to F40 using a macro Lens. These aperture settings not only controlled the exposure, but helped greatly with depth of field which is extremely shallow at such a close range. |
 |  |
 |  |
Before we can learn how to achieve these and other creative flash exposures, we first must understand the nature and workings of the flash unit.
The duration of a burst of light from the flash unit, can range from 300th sec to 20,000th of a sec depending on the size and power of the unit. We already know that we have two separate controls when working with exposure. Using the shutter to control the flash exposure is not really practical due to the extremely short duration of light produced by the flash unit. So it is up to the aperture when controlling flash exposure.
This is the important thing to remember. If the flash is to be the main source, then your main consideration is the aperture, remembering to make sure you don't set the shutter beyond its synchronized maximum speed*. If you are working with a mixture of flash and daylight, then: The aperture is for flash. The shutter is for daylight.
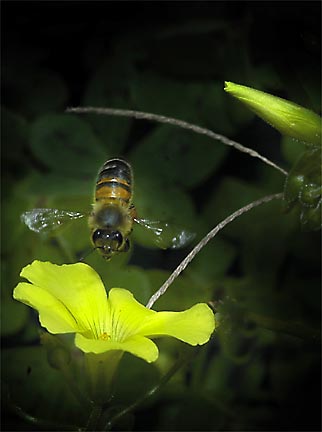 | Set at 500th of a Sec. the shutter is not able to freeze the wings of the bee. Only an incredible short burst of light from our flash unit, acting here as our main light source, enables us to stop the wings. The end result is the flash working as a substitute shutter. |
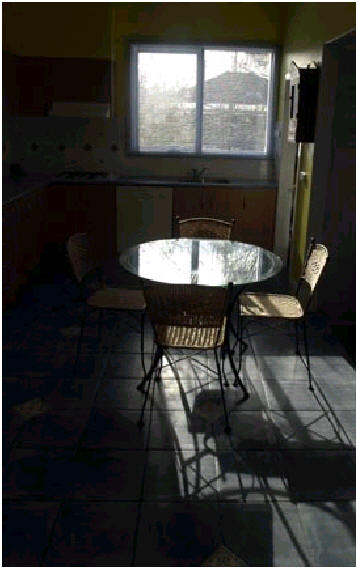
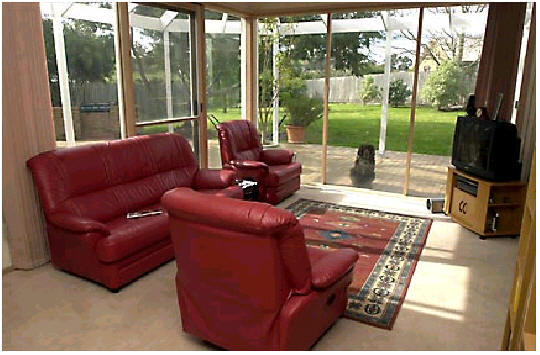
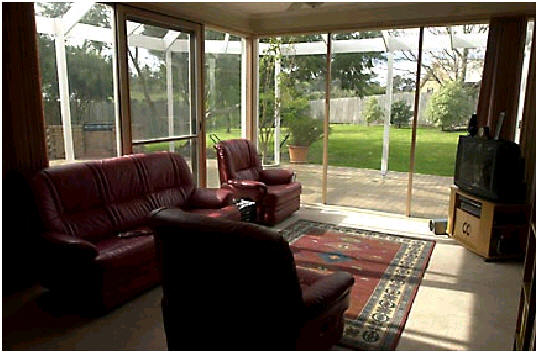
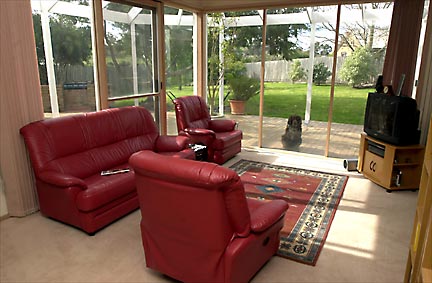 | Repeating the rule we use when working with flash and amber light. The aperture is for the flash. The shutter is for the daylight. So with the photograph above: From where the photograph is to be taken, we first set the aperture setting that will give us correct flash exposure. In this case it was F6.3, now we point the camera at the windows and adjust the shutter until we have correct exposure in the camera. In this situation it was 250th sec. So the exposure of 250th sec@F6.3 even without flash, we still get correct exposure outside. When we turn the flash on, we also get correct exposure indoors. |
 |  |
We will now continue with the chapter on The Studio. |